Gate Pose / Lateral Side Stretch (Sanskrit terms: Parighasana)
Gate pose “encourages transformation. Practice of this intense side stretch takes us beyond our daily lives, stretching our boundaries so that we can move past limitations. Kneeling with one leg firmly on the earth, parighasana (gate pose) teaches us how to remain grounded while reaching for our dreams. The arc of the body is a passageway between the earth and sky connecting the elements of nature that are present within us. Through yoga practice the gate within opens. Obstacles on our path dissolve and spirit soars. In this posture the peripheries of the body/mind are expanded—taking us into new territory and into new consciousness.” 365 Yoga daily meditations, Julie Rappaport.
After reading the beautiful quote above for gate pose, I thought it was a perfect pose to highlight connecting with those states of mind that we are reaching for in my opening musings. We connect with “the elements of nature that are present within us” and “open the gate within” expanding into “new consciousness”.
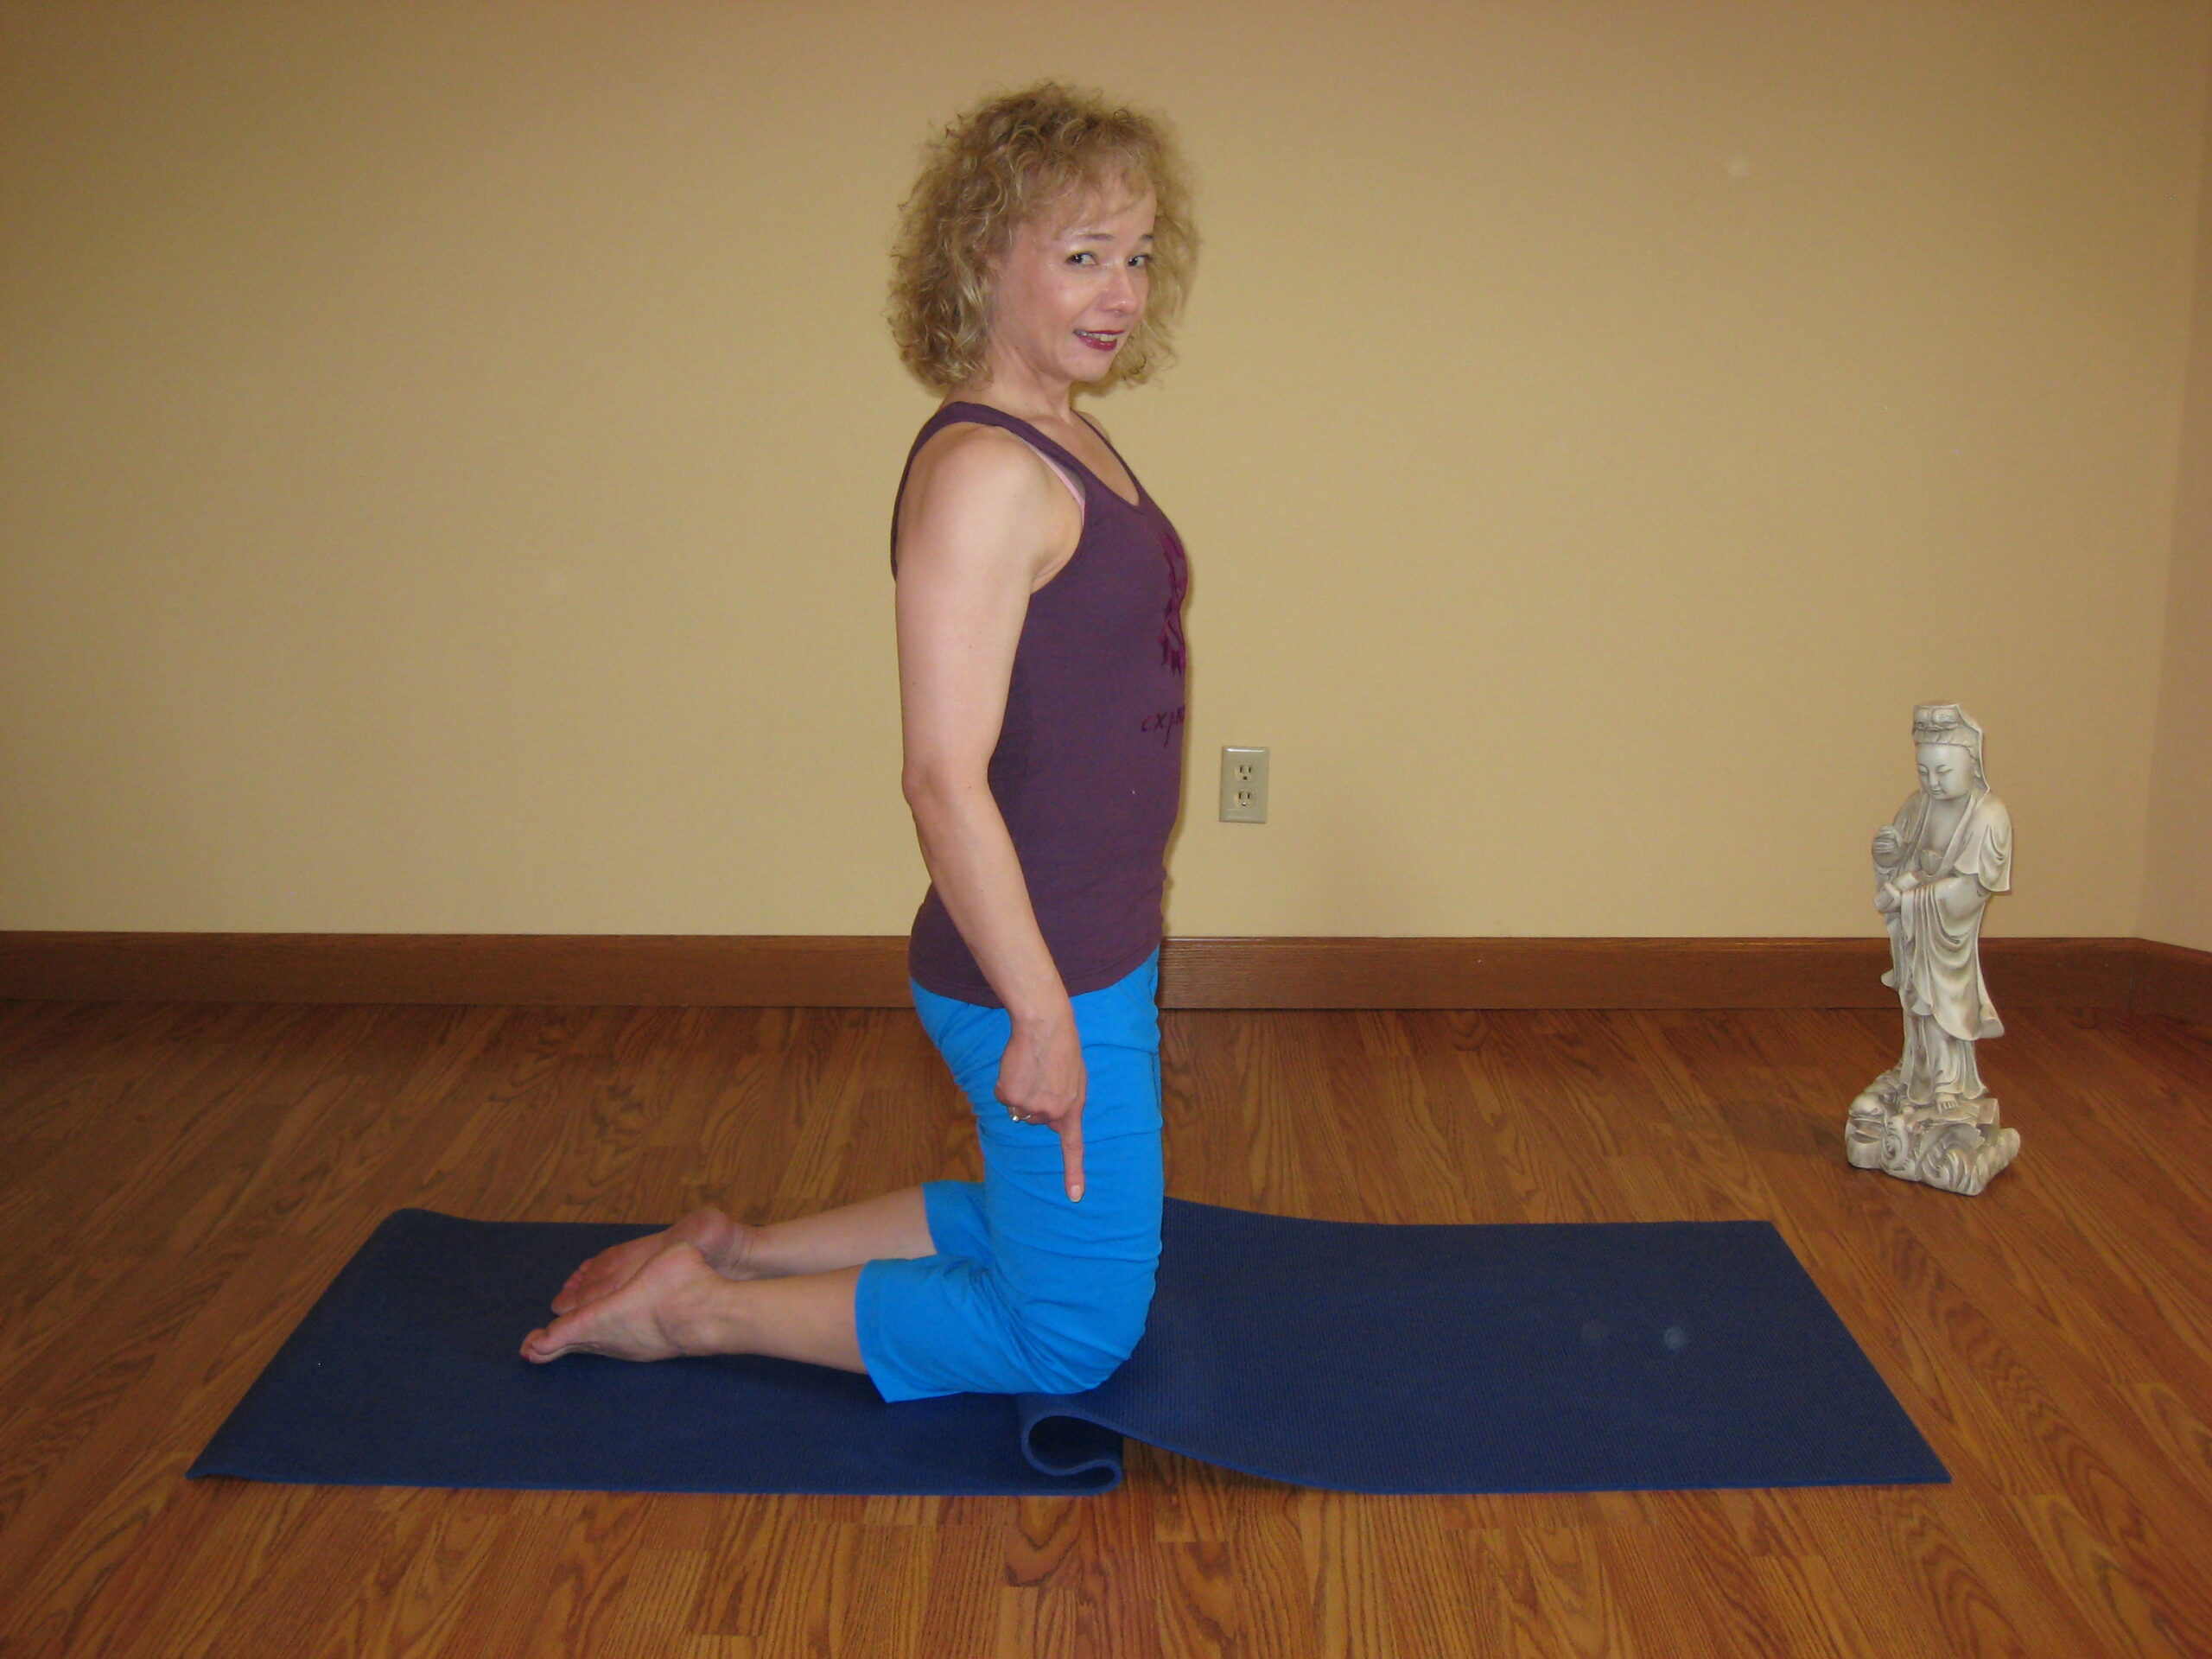
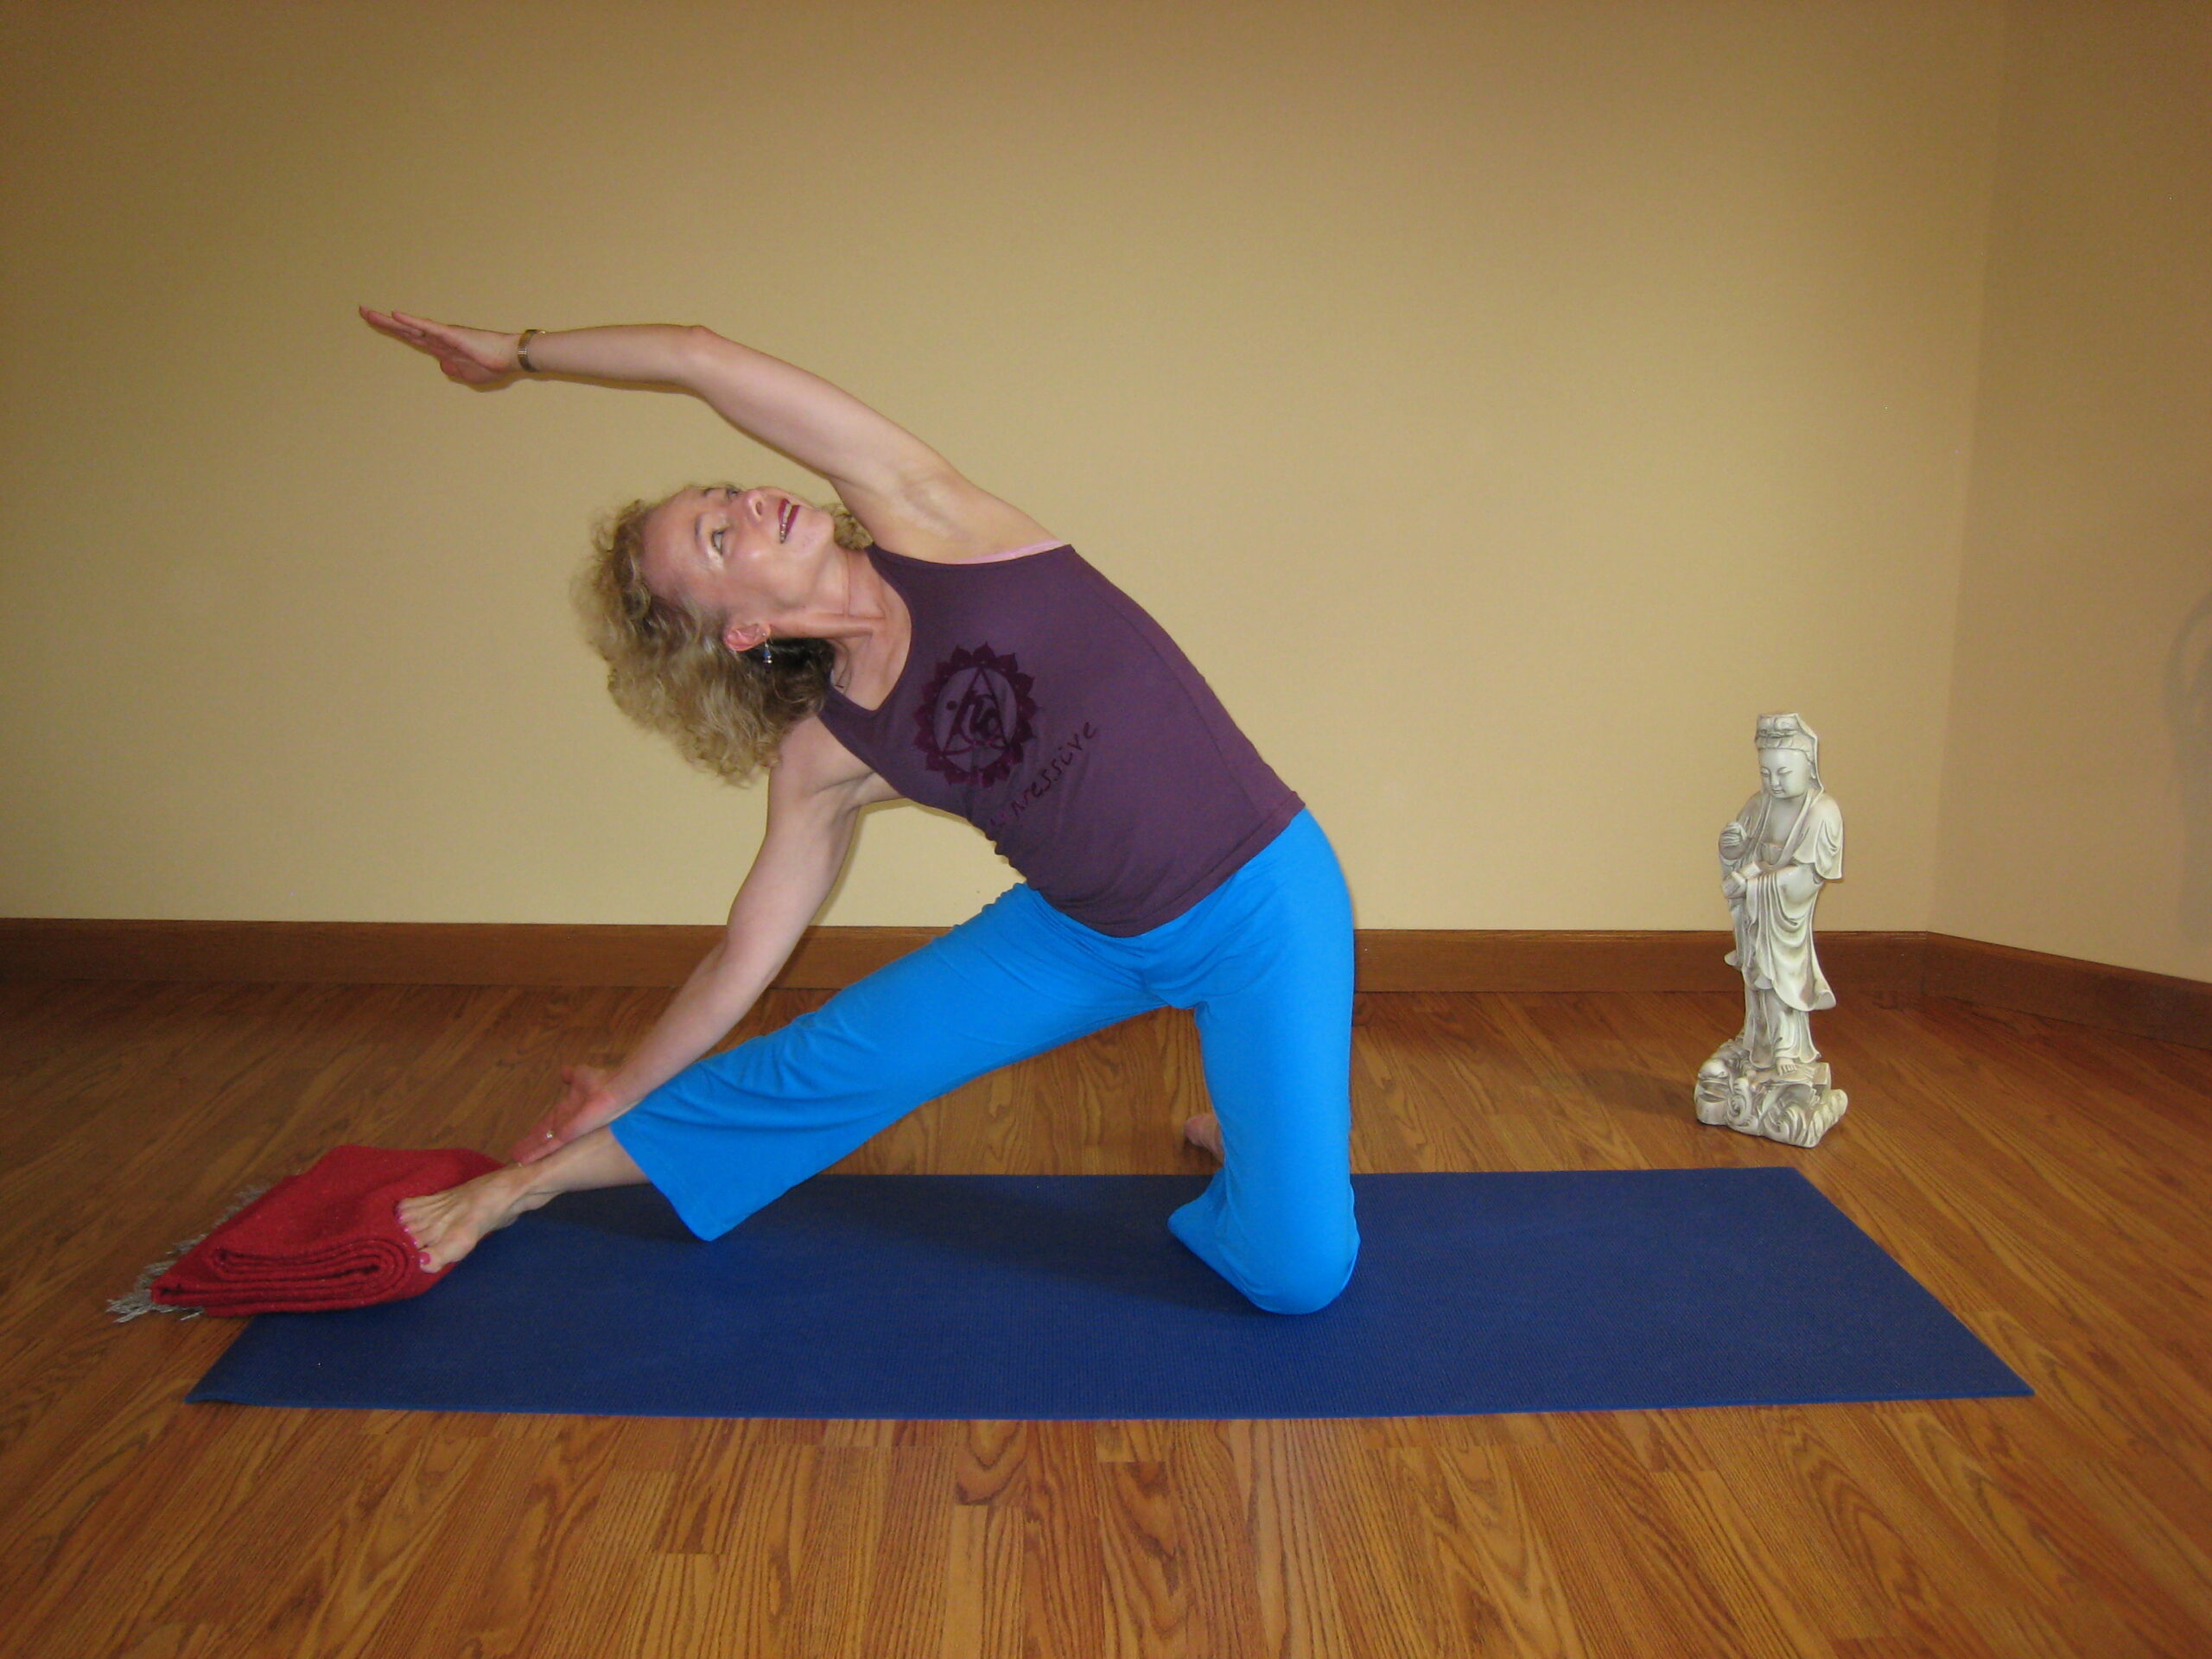
We begin in a kneeling position with the knees hip-distance apart. Use a blanket, or double-up your mat as a cushion for the knees for comfort, if desired (Photo #1). Extend your right foot out to the side in line with your hips and place the big toe side of the foot on the floor with sole of the foot facing the wall to your right. Then lower the sole of the foot flat on the floor (or use a prop underneath it—see practice pose referenced below), toes pointing forward in the same direction as the knee and pressing into the floor.
( YogaFit ® instructs the knee and foot position this way. I have also seen this pose taught with the knee pointing to the sky and toes pointing toward the wall to your right.) Make sure your right leg and foot are in the same line with the left knee. Keep your hips squared forward. The foot of the bent knee can be flexed or pointed—whichever is your preference. Tighten the muscles on the extended right leg keeping a micro-bend in the extended knee avoiding a locked knee. There is no weight being placed on the extended knee.
Next, place your right hand on the right leg and begin sliding it down the leg as far as is comfortable. On an inhalation, extending up through the spine and out from your waist, lift the left arm up and over the head with the palm facing down. Keep the shoulders in line with each other so the top shoulder doesn’t come forward of the bottom shoulder and the chest continues to open up to the sky, as in triangle pose. (This is a great prep pose for triangle!) Feel the stretch on the left side of the body. Your gaze is gently forward or down toward the resting foot in the first part of the pose.
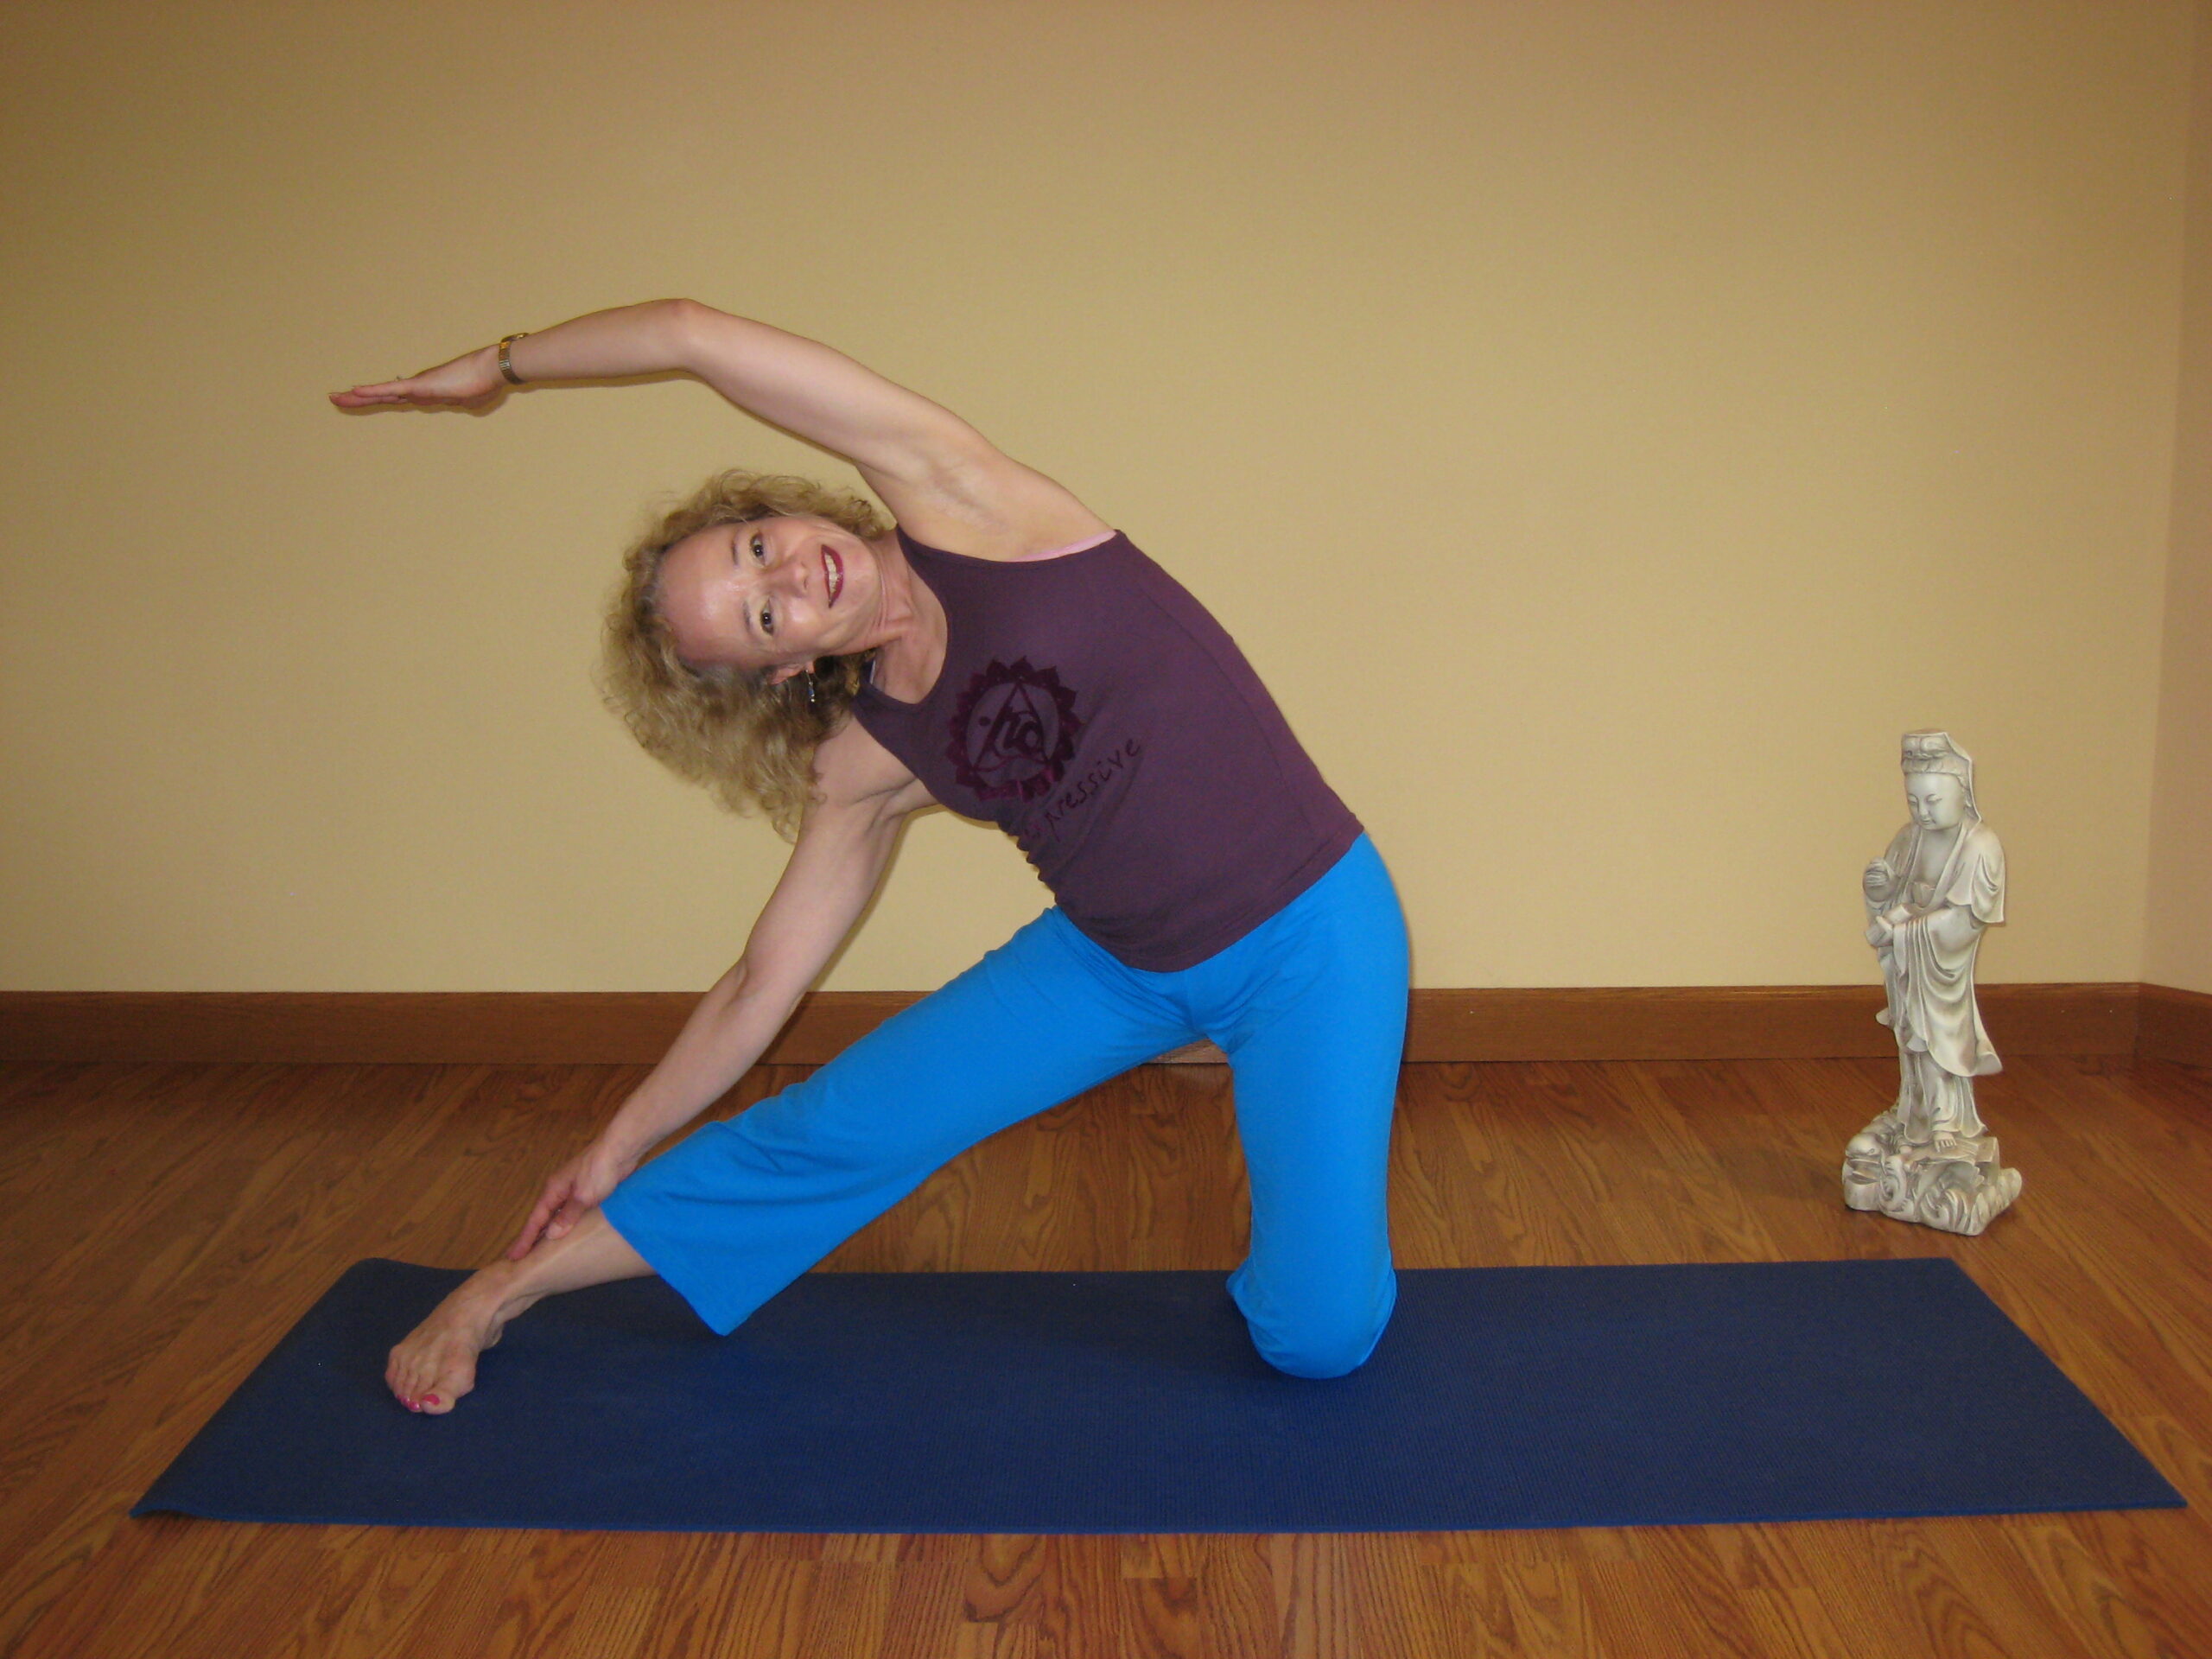
Hold the pose breathing deeply expanding into the belly, ribcage and chest. See the “advanced option” below for the full gate pose if you want to continue working toward that here*.
To come out of the pose, inhale as you reach up with the upper arm drawing your upper body upright. Bring the right knee back in to kneeling, and repeat on the other side. Benefits:
- Tones the abdominal muscles
- Strengthens waist, legs, and hip stabilizers
- Stretches latissimus dorsi, obliques, intercostals muscles that connect the ribs, major back muscles, outside of ankle (when done the way described above ), inner thighs, hamstrings,
- Relieves strain in and opens the shoulders
- Stimulates abdominal organs and lungs
- Improves breathing and circulation
- Helps respiratory problems usually associated with asthma, allergies, colds and flu
Advanced options:
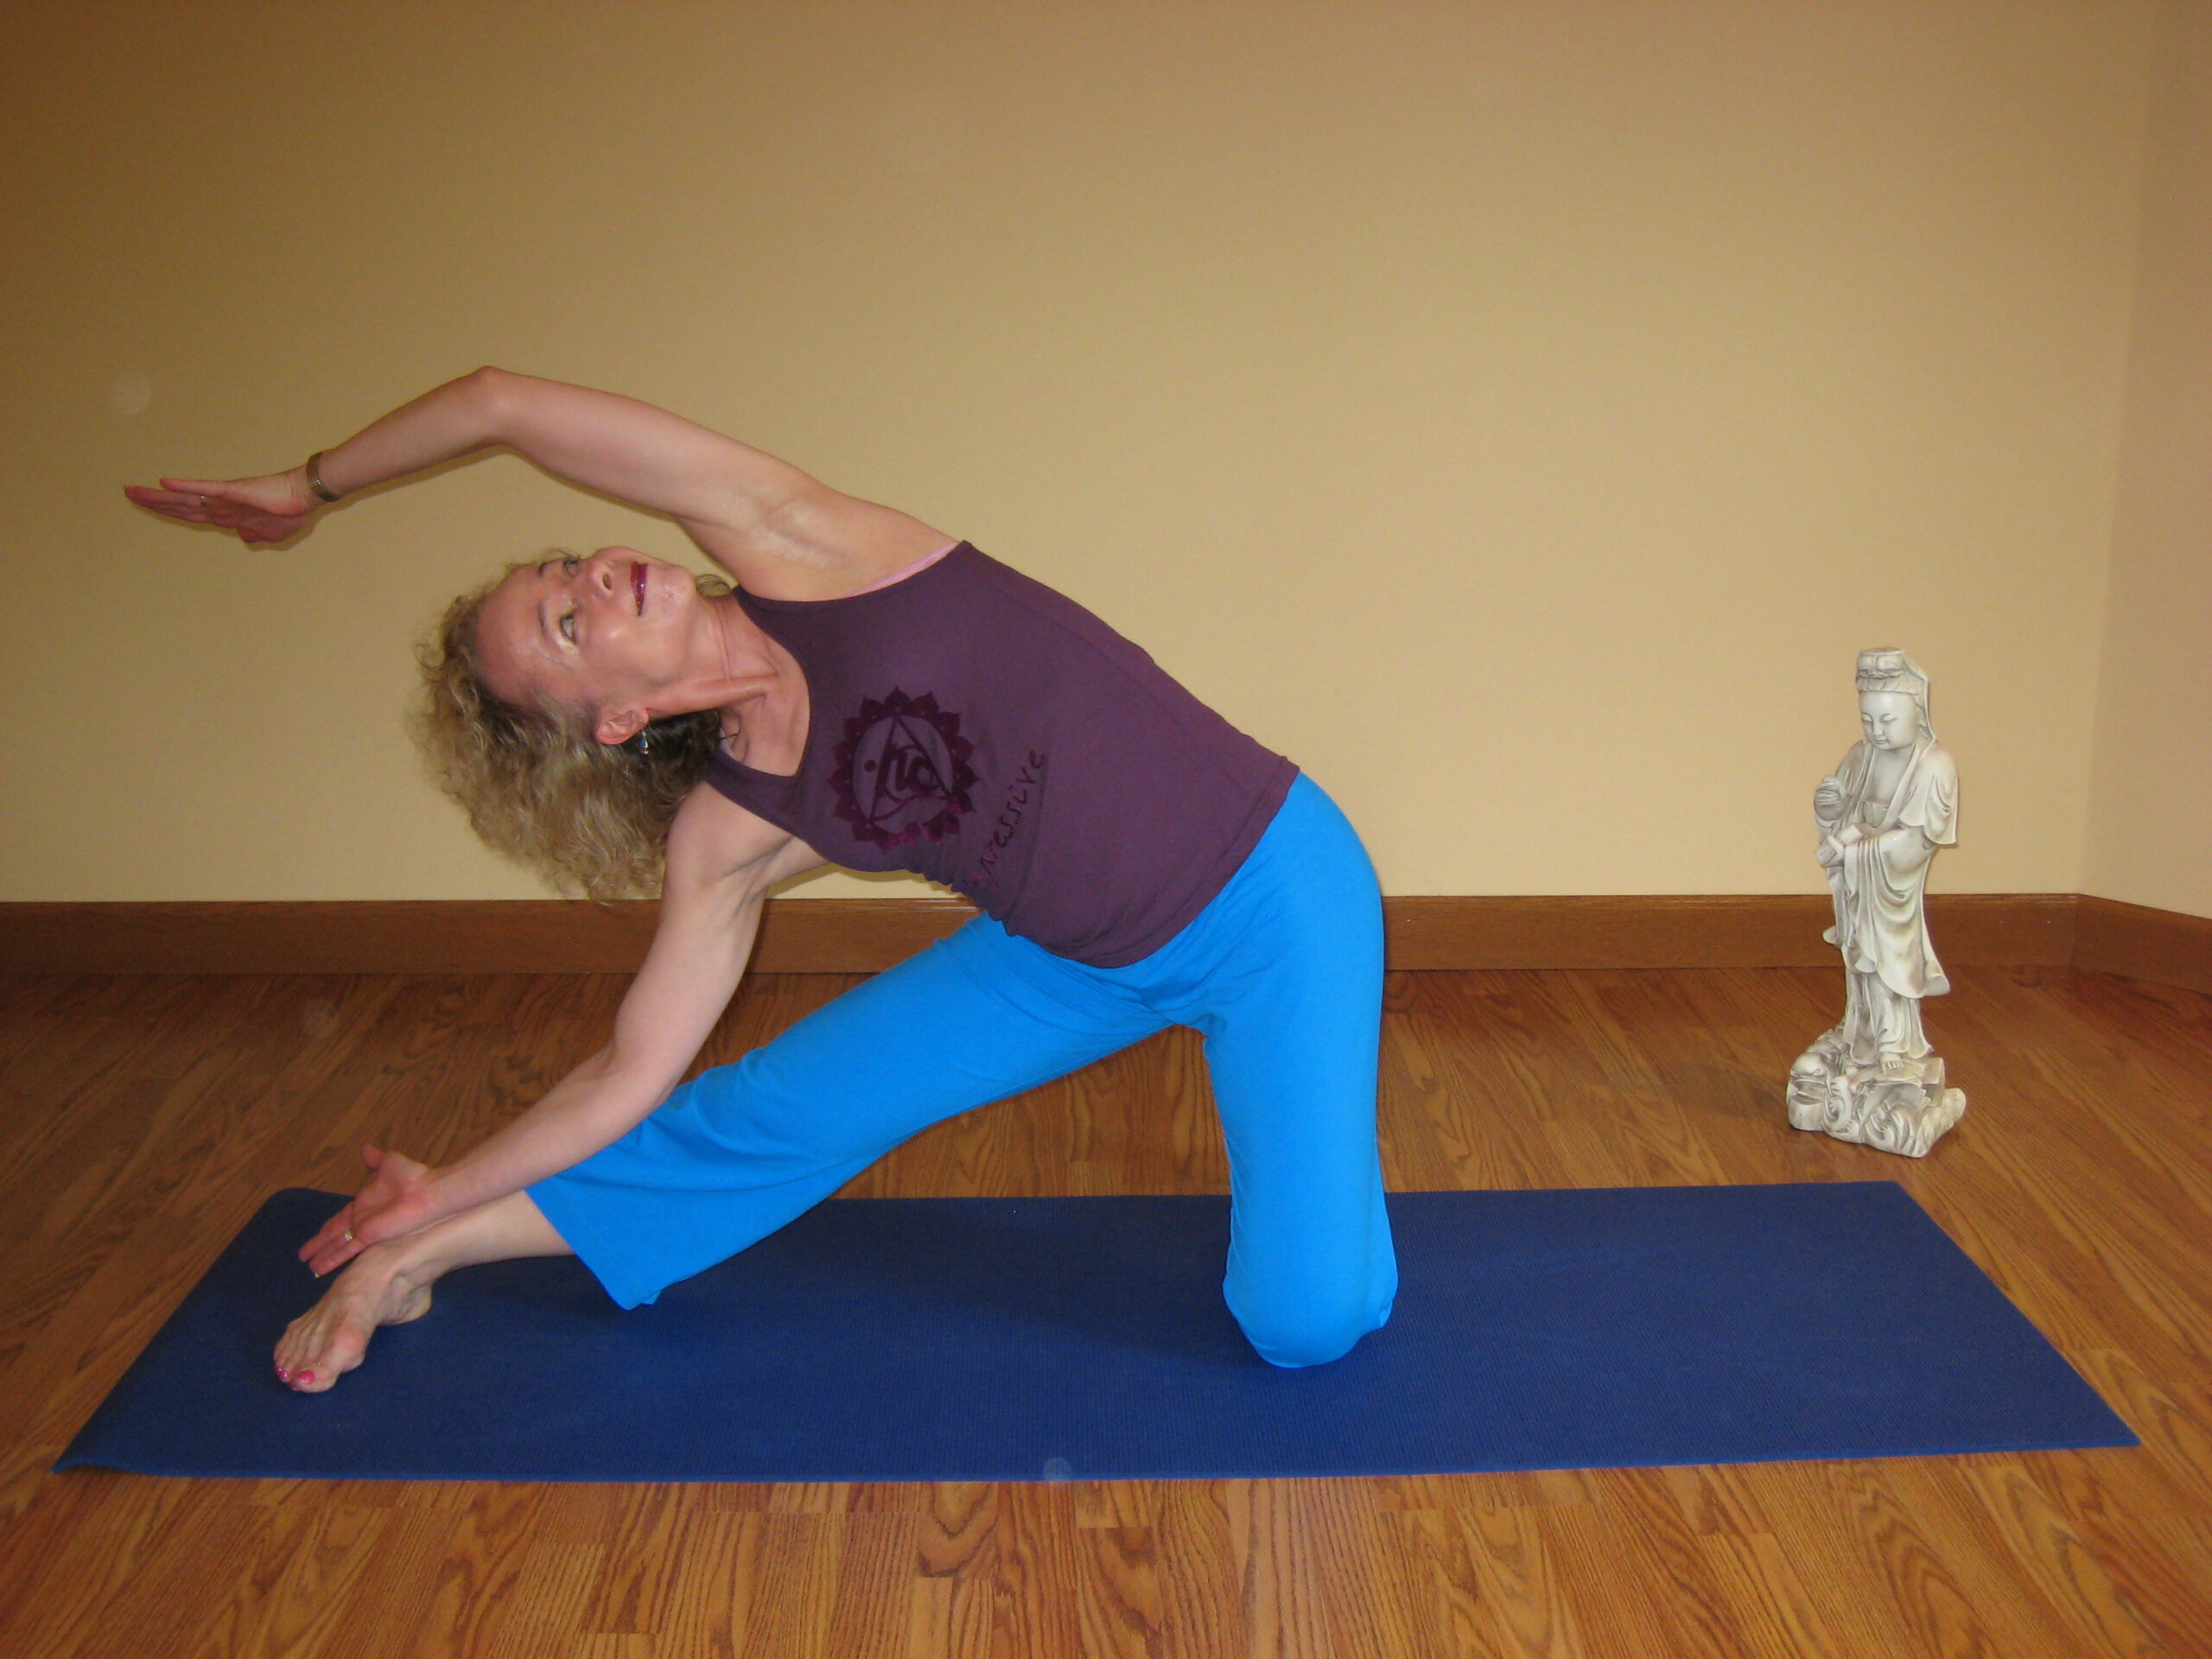
“Full” gate pose is a deep side bend that needs to be done slowly and with concentration. Continuing from the final hold of the pose above, use your steady exhalations to gradually deepen in the pose bringing your upper body as close to the straight leg as you comfortably can (Photo #3). The goal is to bring the bottom hand to rest palm up on the foot and bring the top arm with elbow over the top ear reaching toward the bottom arm and clasping the palms together—closing the “gate”. I am not quite there yet! If it’s comfortable for your neck, and you feel steady, bring your gaze to look up toward the raised hand.
Beginner’s tip: Still unsure on your form or new to yoga? You can try a practice pose.
For those unable to bring the sole of the foot on the straight leg to the ground, use a folded blanket (Photo #4) or wall (not pictured) as a prop under the foot.
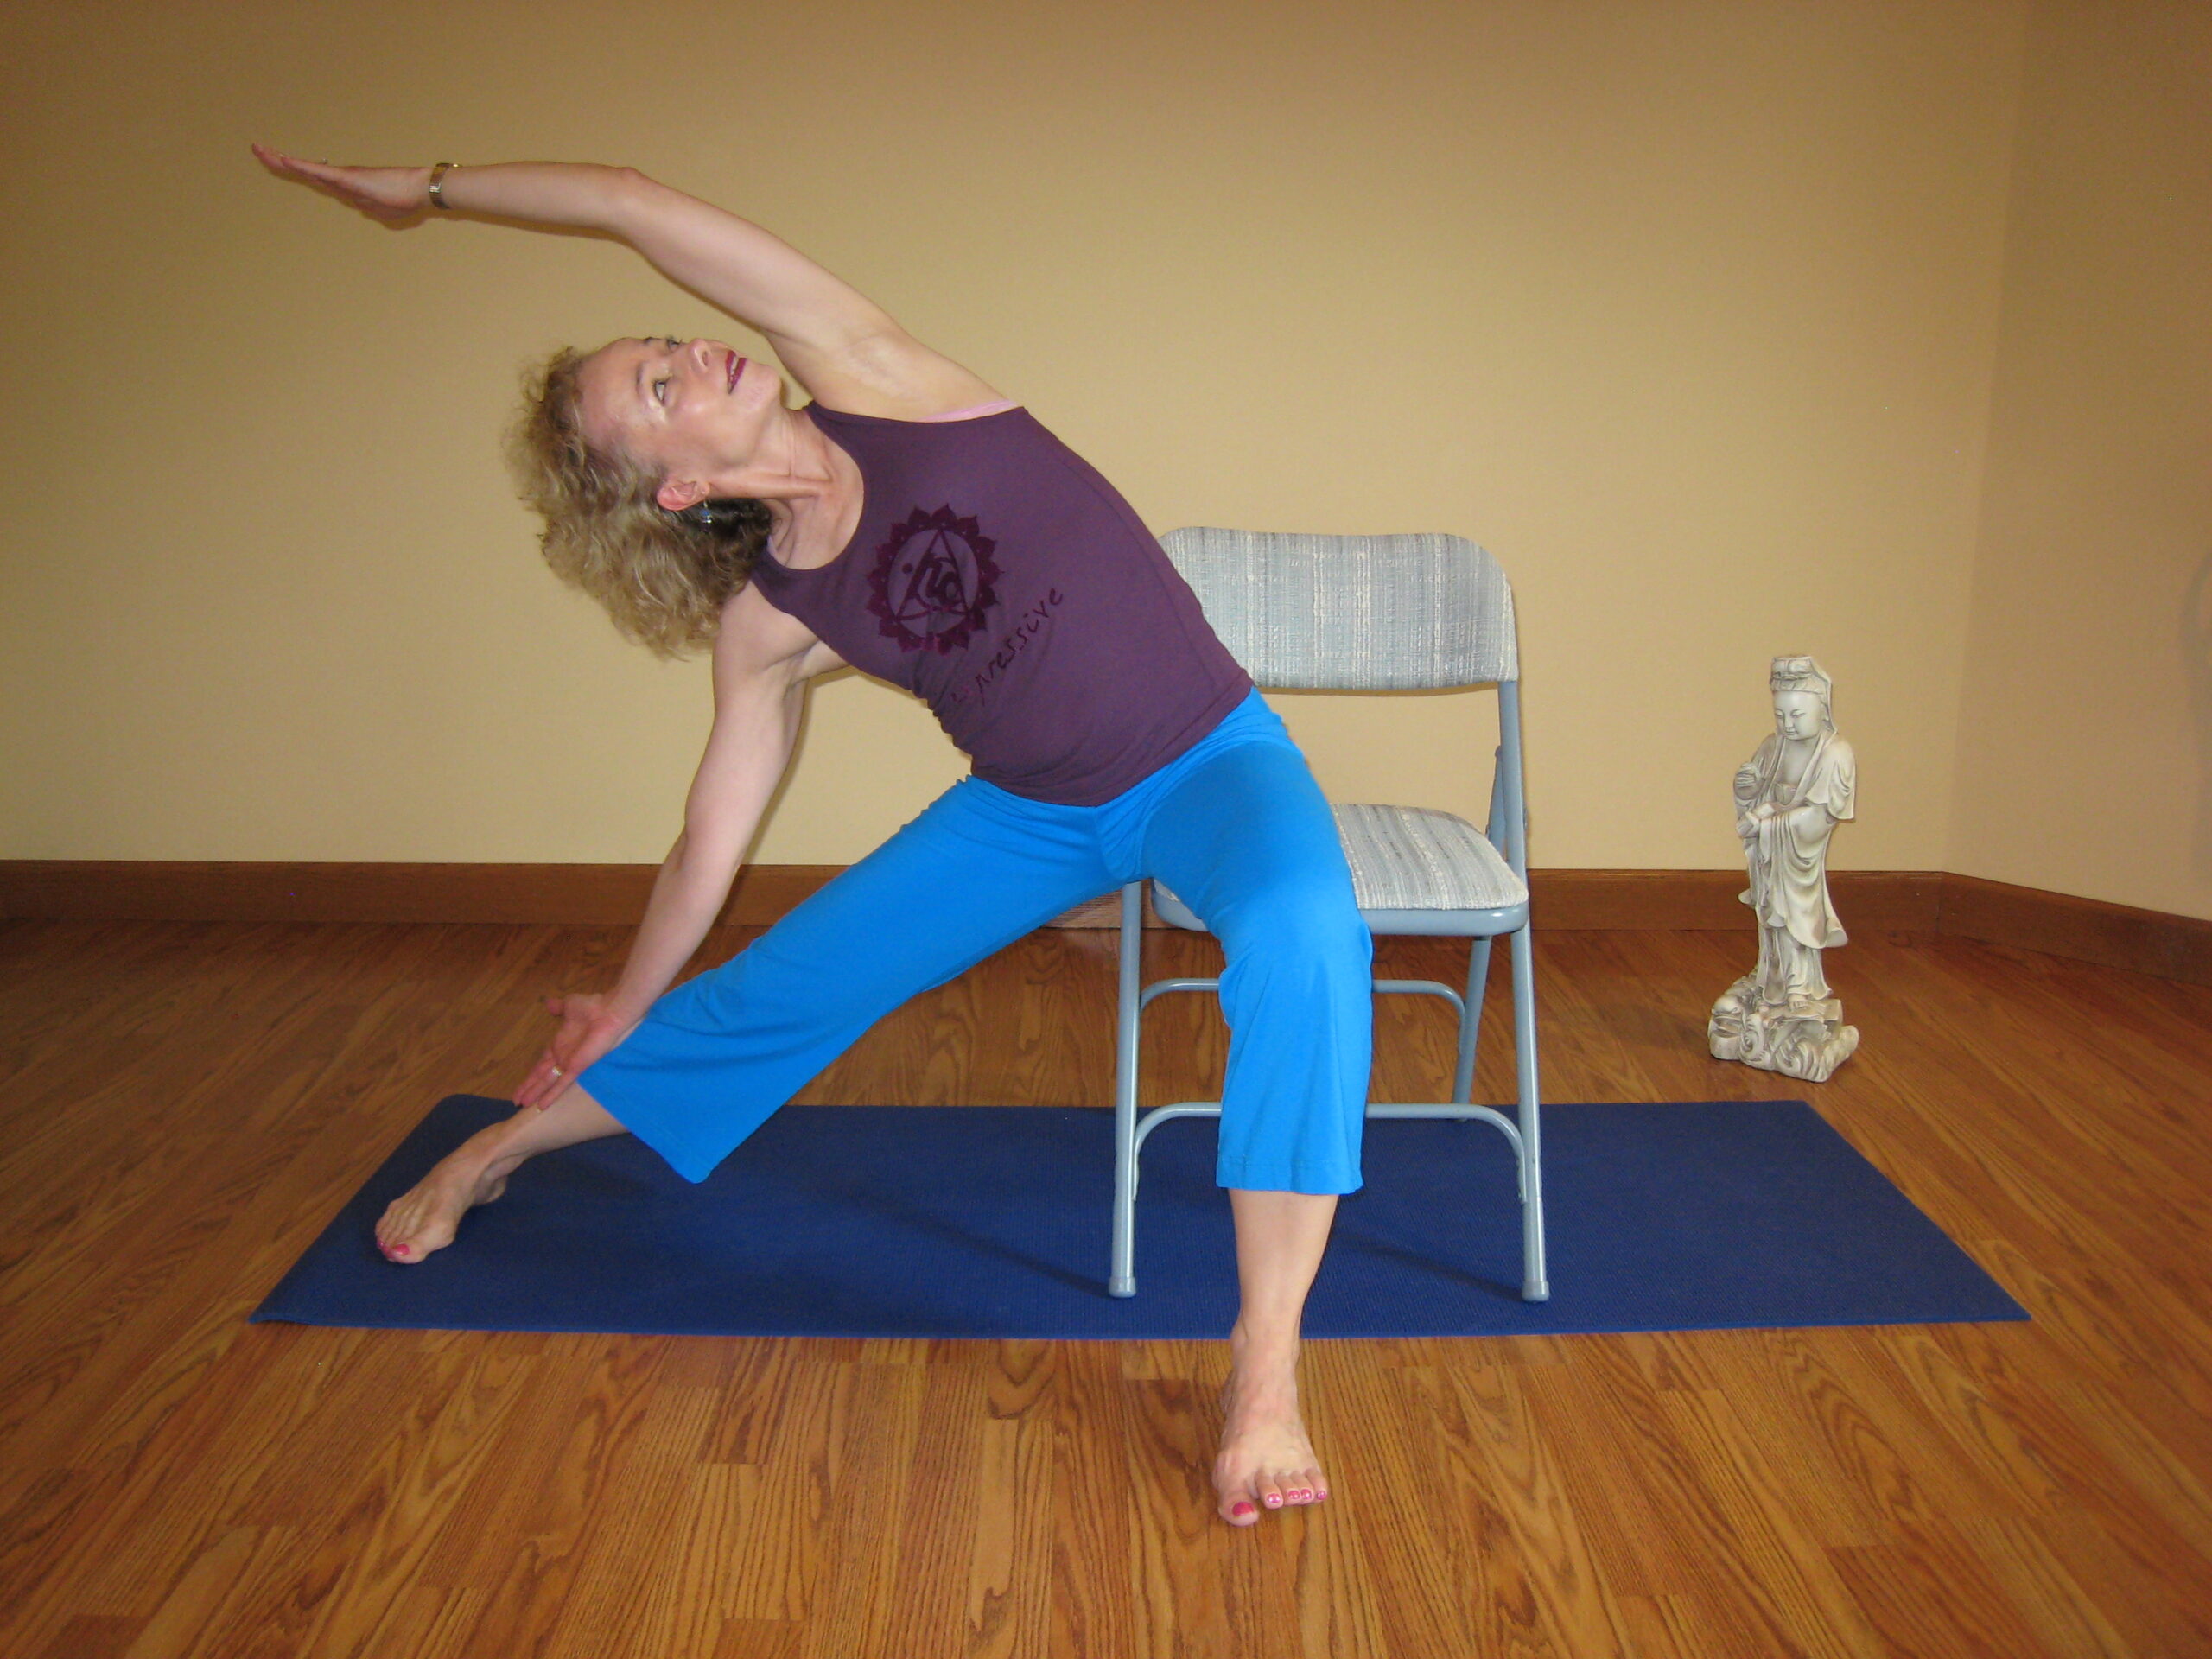
For those with knee injuries or who are new to yoga, you can try a practice pose on a chair (Photo #5).
Keeping the gaze forward instead of up toward the arm/elbow is better for those with neck issues.
Contraindicated for:
- Knee, shoulder, or hip injuries